
Create a Collaged Pumpkin: An Easy Autumn Craft for All Ages
Autumn is the perfect time to get creative with all those lovely seasonal colours, and this collaged pumpkin is a simple craft to enjoy with children. It’s a chance to explore colour, texture and pattern while making something you can bring out year after year.
Unlike a carved pumpkin, these colourful creations won’t rot away after Halloween, so you can keep them to decorate your home each autumn!
What you’ll need

Cardboard, such as an old delivery box
Scissors
PVA glue or a glue stick
An assortment of autumn-coloured papers, including orange, yellow, red, brown and green
Scraps of fabric, tissue paper, wrapping paper, old magazines, sequins, ribbon or anything else you fancy using
How to make your collaged pumpkin

1. Cut out your pumpkin shapes
An adult can draw and cut pumpkin shapes from cardboard. You could make a mixture of large and small pumpkins, depending on how you plan to display them.
2. Gather your materials
Collect together a selection of papers and other materials in lovely autumn colours. This is a great opportunity to use up those little scraps you’ve been saving in your craft box!

3. Cut or tear your collage pieces
Cut or tear your chosen materials into small pieces. You could keep them roughly the same size or experiment with a mixture of shapes and textures. There’s no need to be too precise!
4. Start collaging
Spread glue onto the cardboard pumpkin and begin sticking down your pieces, overlapping them as you go. Experiment with different colours, patterns and textures. You might prefer a pumpkin made entirely from shades of orange, or perhaps you’d like to add unexpected colours, shiny sequins and patterned fabrics.
There are no rules, so let everyone create their own individual design. Younger children may enjoy tearing paper and choosing colours, while older children and adults can experiment with more intricate patterns and layered textures.
5. Add the finishing touches
Once your pumpkin is covered, add a little green paper for leaves or a few extra decorative details. Leave it to dry before deciding where to display your masterpiece.

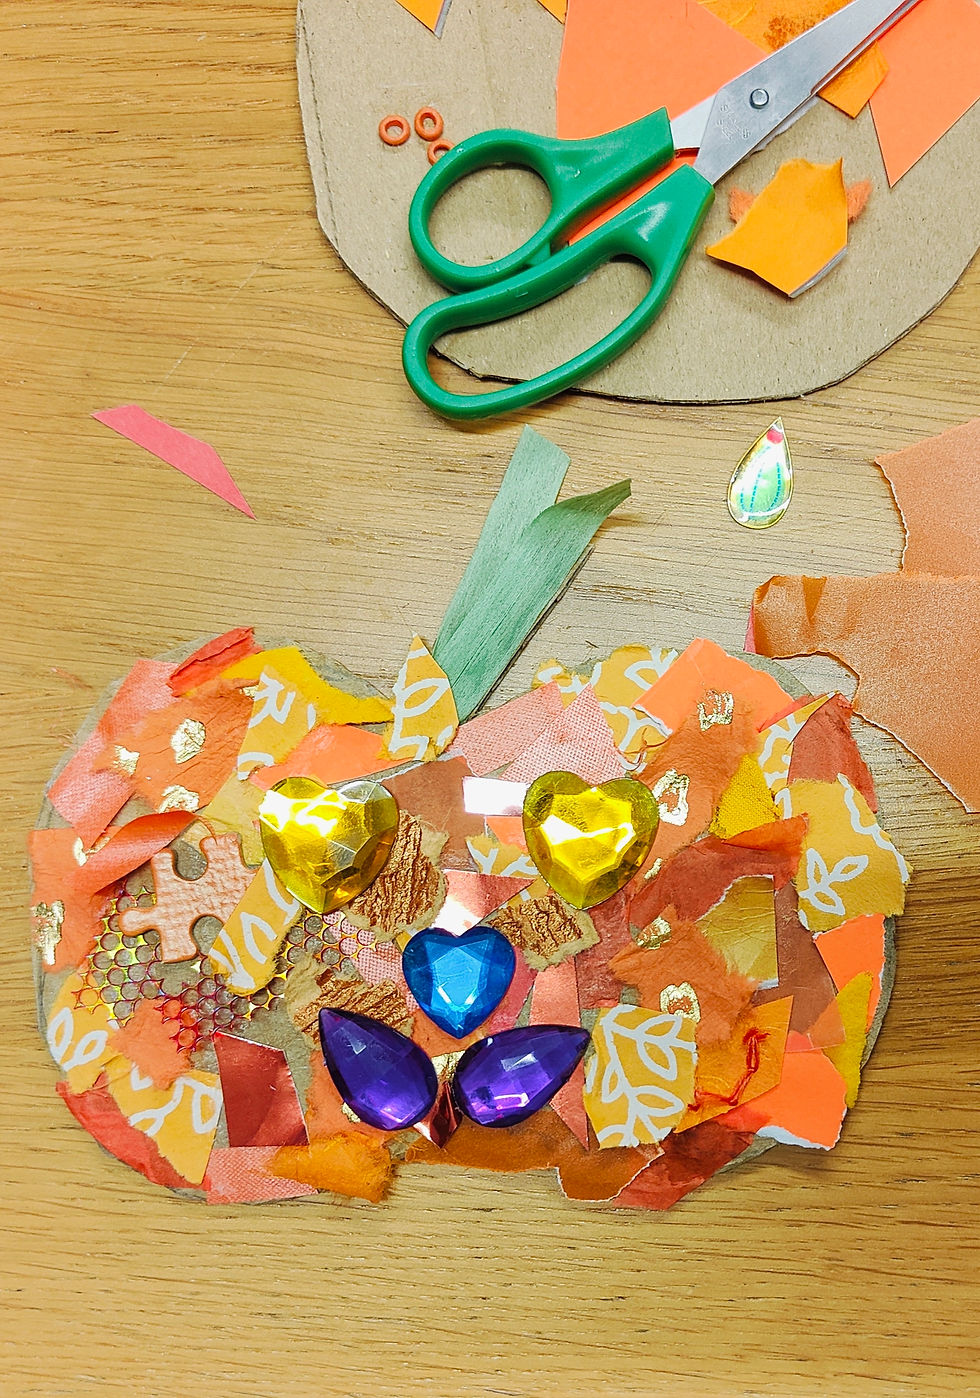
How will you display your pumpkins?
There are lots of ways to enjoy your finished creations.
Decorate your windows: Make several pumpkins in different sizes and arrange them together for a colourful autumn display.
Create pumpkin bunting: Make a collection of smaller pumpkins and attach them to a length of string or ribbon to hang across a window, mantelpiece or wall.
Make a pumpkin gallery: Encourage everyone to create their own design and display them together. It’s lovely to see how differently everyone approaches the same activity!
A little creativity goes a long way
One of the things I love about collage is that you can use almost anything. Old envelopes, scraps of wrapping paper, fabric offcuts and leftover craft materials can all find a new purpose. You don’t need to buy lots of special supplies to get started.
This is also a lovely opportunity to spend some creative time together. Children can explore materials and make their own choices, while adults can join in and make a pumpkin of their own. You might be surprised by how much fun you have!
And the best part? Once the autumn season is over, simply pack your pumpkins away and bring them out again next year. A little less mess than pumpkin carving, and decorations you can enjoy for many autumns to come.
Happy collaging!

Comments